¶ E-Mail Upload
This How To will help you to configure your Emonio for the e-mail upload functionality.
The needed username and password differ from each e-mail provider.
Thus the first section describes the general setup of the e-mail upload.
Specific steps for various providers will follow below, if yours is missing and you need help, please let us know at: support@emonio.de.
¶ Gmail
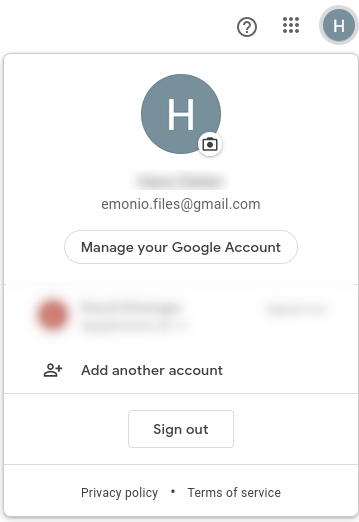
1. Login to your Google account and click on the icon in the upper right hand corner. Then choose "Manage your Google account"
2. On the left side choose the "Security" tab and navigate to the "Signing in to Google" section
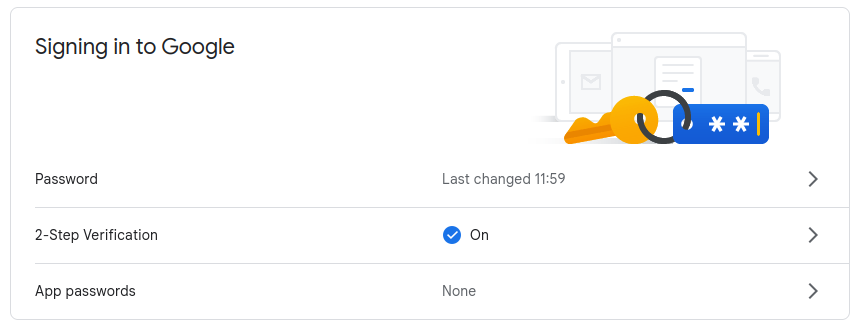
3. Click on "App password". If this option is not shown be sure to setup "2-Step Verification".
This is mandatory to create app passwords. Additional information can be found here: https://support.google.com/accounts/answer/185833?hl=en-GB
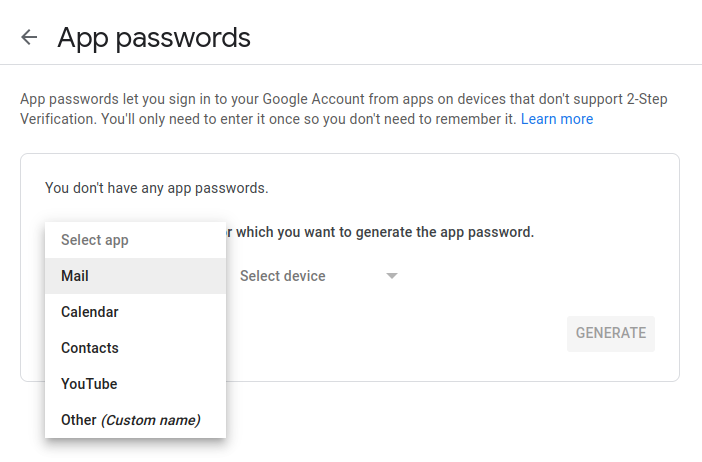
4. After entering your password you need to select the "Mail" app and "Other (Custom name)" device.
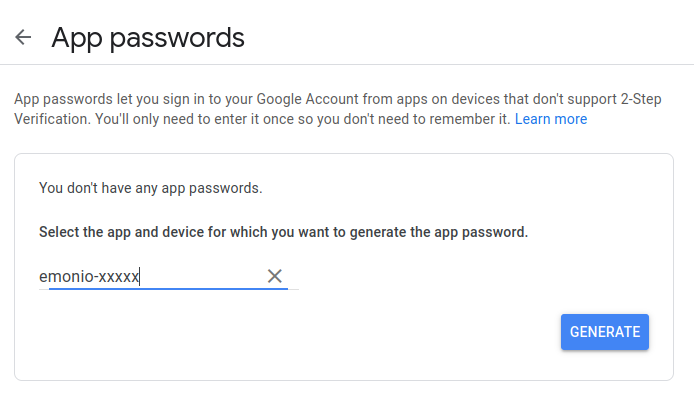
5. Enter a custom name, we recommend to use the Emonio's device id. If you have entered the name click on "Generate".
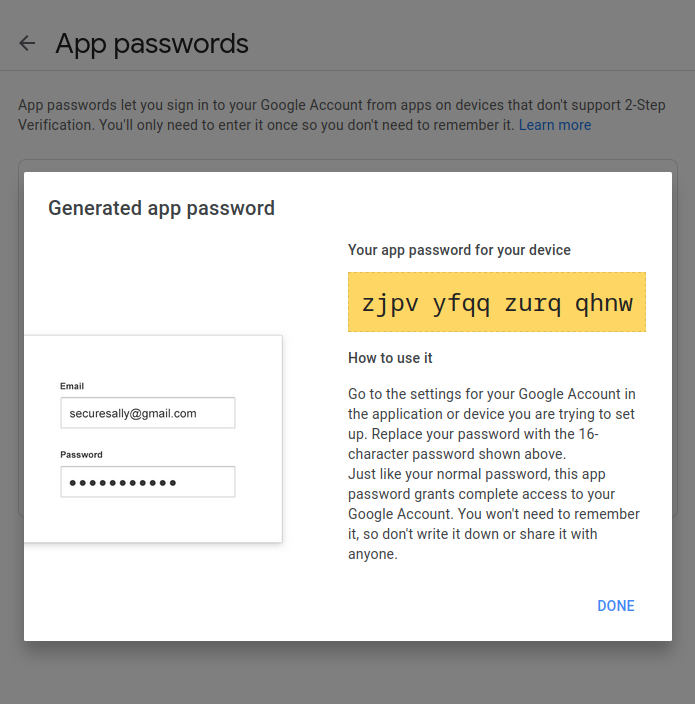
6. You will now see a 16 character long generated password. This is the password we need to enter in the Emonio setup.
The spaces are not part of the password.
You can use one generated password on multiple Emonios. This makes configuration way easier, as you only need to generate one app password.
Just make sure to save the password, as it is not accessible within you Google account after you click "DONE".
When you change you Google account password, all app passwords will be revoked and you will need to generate new ones.
Thus the Emonio will not send files until you have created and configured a new app password.
7. Now you will configure the Emonio, therefore connect with the Emonio and navigate to the setup. Open the "advanced" setup and navigate to the "Upload" section.
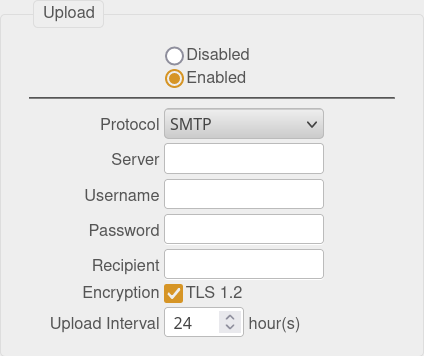
8. Enter the following information in the input fields
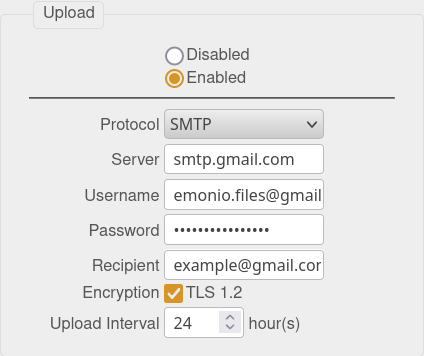
| Protocol: | SMTP |
| Server: | smtp.gmail.com |
| Username: | your google mail, e.g. emonio.files@gmail.com |
| Password: | The 16-character password you generated in step 6. |
| Recipient: | The e-mail adress the CSV file should be sent to. |
| Encryption: | Needs to be ticked. |
| Upload Interval: | Choose the interval in which the e-mails should be send. |
The fields should now look like this:
9. Save the changes by clicking the "Save & Apply" button.